
Growing mushrooms on straw is one of the easiest and most rewarding ways to produce food at home.
You could start with a mushroom kit – or even better- make your own mushroom log and grow mushrooms at home. With little equipment or supplies you could be growing more delicious gourmet mushrooms than you will know what to do with!
The process involves inoculating pasteurized straw with mushroom grain spawn, allow the mushrooms to colonize the straw and placing your mushroom log in the right environmental conditions for fruiting.

Basic Steps for Growing on Straw
- Chop, soak and pasteurize straw between 65-82 °C for 1 -2 hours.
- Drain straw, cool, and mix in mushroom grain spawn with at least a 10% spawn ratio.
- Stuff straw/spawn mixture into an appropriate fruiting container.
- Let colonize at room temperature. This should take 7-14 days.
- Move to a fruiting chamber or some other appropriate environment to initiate mushroom fruitbody growth.
- Harvest and enjoy!
What You’ll Need
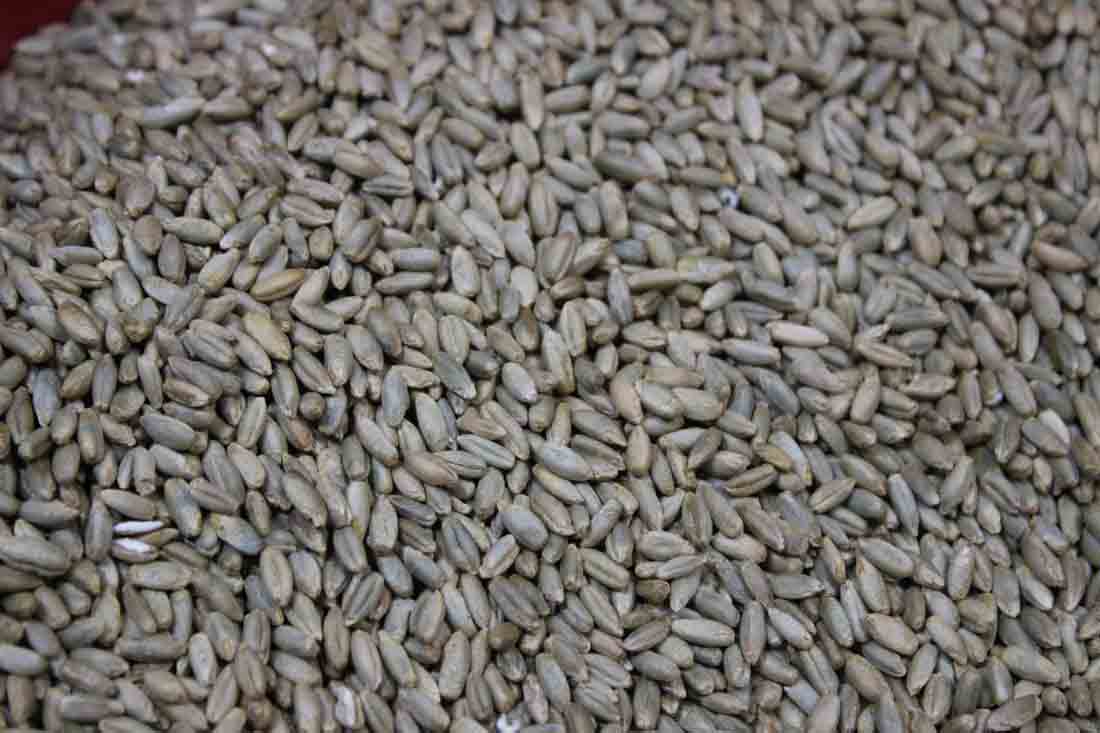
- Straw, either wheat straw or oat straw in reasonably good condition.
- A Pasteurization Method. I like to use a propane burner and a large drum.
- Mushroom Grain Spawn. Make sure to choose a mushroom species that grow well on straw such as Oyster Mushrooms
- A Fruiting Container such as poly tubing or a 5 gallon bucket with holes drilled into the sides
Step 1: Choosing your mushroom
What types of mushrooms can you grow at home using straw? Many different types of mushrooms will grow on straw, but the most rewarding type to grow is oyster mushrooms. They are easy to grow, colonize fast, and fruit heavily. Oyster mushrooms come in many different forms including blue, pink, yellow, pearl, and king oysters. All have slightly different environmental preferences, and some will be more productive or faster on straw than others. Most gourmet mushrooms grow great on supplemented sawdust as well – you can read all about that here. Blue Oysters will colonize straw quickly and fruit heavily, but require a ton of fresh air in order to develop large meaty caps. This makes them best suited for outdoor grows with unlimited fresh air. They prefer cooler weather and are generally suited to more temperate climates. Yellow Oysters do not require nearly as much fresh air as blues and are thus well suited for growing indoors. They are a tropical species and will grow fine at room temperature. The yield will be smaller than other varieties as this mushroom produces light and delicate- but beautiful- bouquets of vibrantly yellow mushrooms. Pink Oysters are incredibly fast to fruit, usually ready for harvest within 10-12 days of making the straw log. They are heat tolerant and don’t require much fresh air. The spore load can be quite heavy with these mushrooms requiring a keen eye for the right time to harvest. King Oysters will grow well on straw, but look notably different than other varieties. They may take a little longer to fruit as well. This species tends to produce large individual mushrooms rather than clusters. If grown inside they will tend to have large stems and small caps, while outside grows to produce large caps and very little stem. Both forms are desirable. Once you have decided what species you want, you can either order spawn or make your own. Making your own grain spawn requires some knowledge and special equipment, but is a fun and rewarding experience in itself. The easiest way to do it, however, is to purchase spawn from a reputable supplier. You will need about 3-6 lbs of fully colonized spawn for each 30lb straw log.
Check out this video below where I go through my process for making and inoculating straw logs:
Step 2: Prepare the straw
Chop the straw You can use a variety of straws for growing mushrooms, but wheat or oat straw seems to work best. Once you get your bale of straw, it is best to chop the straw into smaller 1-3″ pieces. For smaller amounts, you can use shears in a large tote, but if doing larger amounts, I find it easiest to use a weed whacker in a large barrel to shred a few armloads of straw at a time.
Wash and soak
This step can be skipped but I find it advantageous to soak the straw with dish soap in a large tote. Use about the same amount you would use to do dishes. It seems to reduce the bacterial load in the straw and reduce the chances of contamination.
Pasteurize
In order to give the mushrooms the advantage over molds and bacteria, you need to heat treat the straw within a specific temperature range.
Proper pasteurization will essentially allow the mushroom culture a window of opportunity to colonize the straw before contamination can get a foothold.
The easiest way to do this is to use a hot water bath.
For smaller amounts of straw, load a tote with your straw and add hot tap water.
Add a weight on top of the straw to hold it down. Once the straw is covered, add boiling water until the water temperature is above 65 degrees Celsius.
Use a candy thermometer to monitor the temperature. Let the straw sit in the hot water bath for 1-2 hours. Add more boiling water if the temperature falls below 65 degC.
For larger amounts of straw, you can use a food grade barrel with a propane burner.
This is the one I use. It gets the water cookin’ in about 30 minutes.
Stuff a wire basket with straw, place in the barrel, fill with water and heat until the temperature rises above 65 degC. Try to maintain the temperature between 65 and 82 degC for 1-2 hours.


Drain and Cool
Once proper pasteurization is complete, drain your straw and allow it to fully cool. Rapid cooling can be obtained by spreading the straw out on a smooth clean table.
Try to maintain cleanliness here by washing the surface thoroughly and by disinfecting hands with alcohol or washing well and often.
Pay close attention to where contaminants could come from.
Step 3: Inoculate the logs
In this step, you add your grain spawn to the straw. Using a higher spawn:straw ratio will increase colonization times and will increase your chances of success. I like to use 3lbs of spawn for each 20lbs of wet straw, or a ratio of about 15%. Using less than 10% greatly increases the chances of contamination. Mix your spawn Using a large tote, or table, mix your straw and spawn well. Try to get an even and thorough distribution. Also, make sure there are no pockets of packed straw that are still too hot from pasteurization. Again, make sure hands are disinfected or use nitrile gloves. Stuff mixture into bags or container You now need to stuff the mixture into a suitable container. Many things will work, including laundry baskets, 5 gallon buckets with holes drilled in the side, plastic bags etc. I find the best option for a container is to use poly tubing – it's versatile, you can watch colonization, easily spot contaminants and make the log any length you want. Also, the shape of the tubing allows for lots of surface area for fruiting, you can slice as many holes as you want and even cut holes if you notice unwanted pinning under the plastic. Using poly tubing with a 16″ lay flat diameter will give you a log about 10.5 inches thick, which is a perfect size. Going too much bigger will cause an anaerobic core, eventually causing the log to contaminate. Tie one end of the tubing with wire or a zip tie and stuff the mixture in one handful at a time. Press down as you go and pack the straw as tight as you possibly can. This will prevent air pockets from forming between the straw and the tubing -thus preventing the mushrooms from pinning under the plastic. Once the log is the desired length, force all the air out of the log by pressing down hard and twisting the top of the tubing. Tie off the top again with wire or a zip tie. Punch holes for fruiting You will need to punch holes into the side of the log for two reasons. First, your mushroom log needs to breathe in order for colonization to occur. If no holes are punched, contamination is imminent. Further, your mushrooms will eventually fruit through these holes. It is similar to how they grow in nature. The plastic acts like the bark on a tree protecting the mushrooms, while the holes act like cracks in the bark where the organism senses fresh air and an opportunity to fruit and eventually spread spores. Use a blade to cut small x’s about 5 inches apart all around the entire bag. You can also use an arrowhead for faster hole punching. Make sure the blade or arrowhead is sanitized first with alcohol so that you are not introducing contaminants into the log. If you plan on hanging the log, also poke a few holes in the bottom of the log so that excess moisture can drip out.
16″ Poly tubing is great for making straw logs.


Step 4: Colonization and fruiting
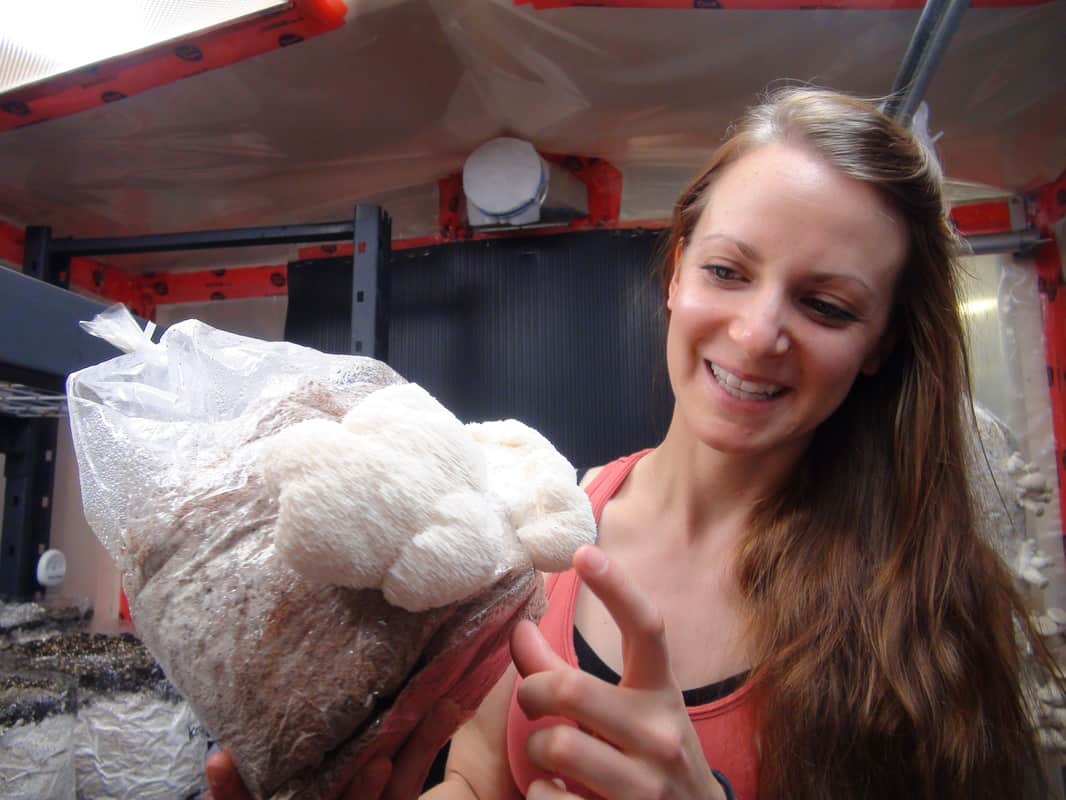
At this point, the hard work is behind you! It should take about 7-14 days for the mushroom culture to fully colonize the log depending on temperature. Logs are best incubated at room temperature and away from direct sunlight. Check your logs every couple of days to ensure colonization is proceeding and contamination is kept at bay. If doing multiple logs, make sure that they are not packed tightly together during incubation. They create heat as they are colonizing, and if they get too warm the mushroom culture will die and the log will contaminate. If you notice any bad smells or colorful growth in your log, then it is likely contaminated, and it would be best to throw it in a compost pile or in the garbage. Most likely, however, you will only see nice white mycelial growth. Once the entire log is covered in white mycelium it is ready to fruit. If in the right conditions, or outside, fruiting will likely occur naturally. You will first see pins or little adolescent fruit bodies forming at the holes in the plastic. These mushroom fruit bodies will grow quite fast, sometimes doubling in size every day! Try not to let the mushrooms dry out as they grow, which can be accomplished with regular misting. If growing inside you may need to induce fruiting by altering the environmental conditions- namely introducing light, slightly dropping the temperature and elevating the humidity. You may need to build a grow chamber to maintain perfect conditions, but successful indoor grows can be achieved at normal living area conditions if a regular misting schedule is maintained. There are many different options for indoor growing chambers, and may need to be explored in another post.
Trichoderma mold contamination on a straw log.

Healthy white mycelial growth, with baby king oysters emerging from a hole in the plastic.

Primordial oyster mushrooms emerging through the log.

Youngs Blue oyster cluster. These mushrooms tend to lose their blue hue as they age.
Step 5: Harvest!
Congratulations! It's now time to enjoy the fruits of your labor. Time to harvest will likely be about 10-21 days after you have inoculated your log, depending on the species. Try to harvest your oyster mushrooms right before they drop spores. You will know they are ready to drop spores when the caps start to curl upwards. If the mushrooms appear to have a powder all over them, they have likely already dropped their spores. This is fine, but some people can develop an allergic reaction to oyster spores over time, so it's best not to have too high a spore load, especially if growing indoors. Remove mushroom cluster from your log at the base of the cluster with a knife, or simply twist off with your hand. You can usually get about 5 lbs of mushrooms from a 20 lb log, depending on species.
King oysters ready for harvest. King’s generally form large individual mushrooms.

Blue oysters showing the long stem and smaller caps from being grown indoors. More fresh air would cause the caps to form sooner, shortening the stems.

Young pink oyster clusters on a straw log.

Pink oysters about 12 hours past ideal harvest. Some had already dropped spores.

After harvest, leave your log to rest for a week or so. You will likely get 1-2 more flushes of mushrooms if the log can retain adequate moisture.
Monitor your log closely after the first harvest, since contamination can occur as the log matures. Once it is clear that the log is done, simply break it up and add it to the compost pile, or add it to your garden as a mulch.
You might even get more mushrooms out of it!
Let mushrooms dry slightly, and then store in the fridge in paper towel or paper bags for up to two weeks.
