Growing mushrooms starting from ready-made grain spawn is one of the most accessible and beginner friendly ways to get into the hobby of mushroom cultivation.
It is slightly more complicated than growing mushrooms from a kit, but the results are totally worth it!
You’ll get way bigger yields, a deeper understanding of the process, and the ability to grow more mushrooms than you’ll know what to do with.
Why Buy Grain Spawn?
You could always make your own grain spawn… Without a doubt, if you plan on really diving into the hobby of growing mushrooms, making your own spawn will be an inevitable part of the process. It involves properly hydrating and pressure sterilizing grain, inoculating it with your chosen mushroom culture and expanding the spawn through a series of grain to grain transfers until you have a good amount of clean, fully colonized spawn.
This process sometimes causes new growers to shy away.
It requires a pressure sterilizer, a clean laboratory environment, and the skills to properly transfer cultures and grain while staving off contamination. Really, it’s not all that bad- totally doable for people willing to invest a little bit of time into learning the techniques.
But what if you want to just start growing loads of mushrooms without putting on the lab coat?
That’s where commercially produced grain spawn comes in!

Types of Grain Spawn
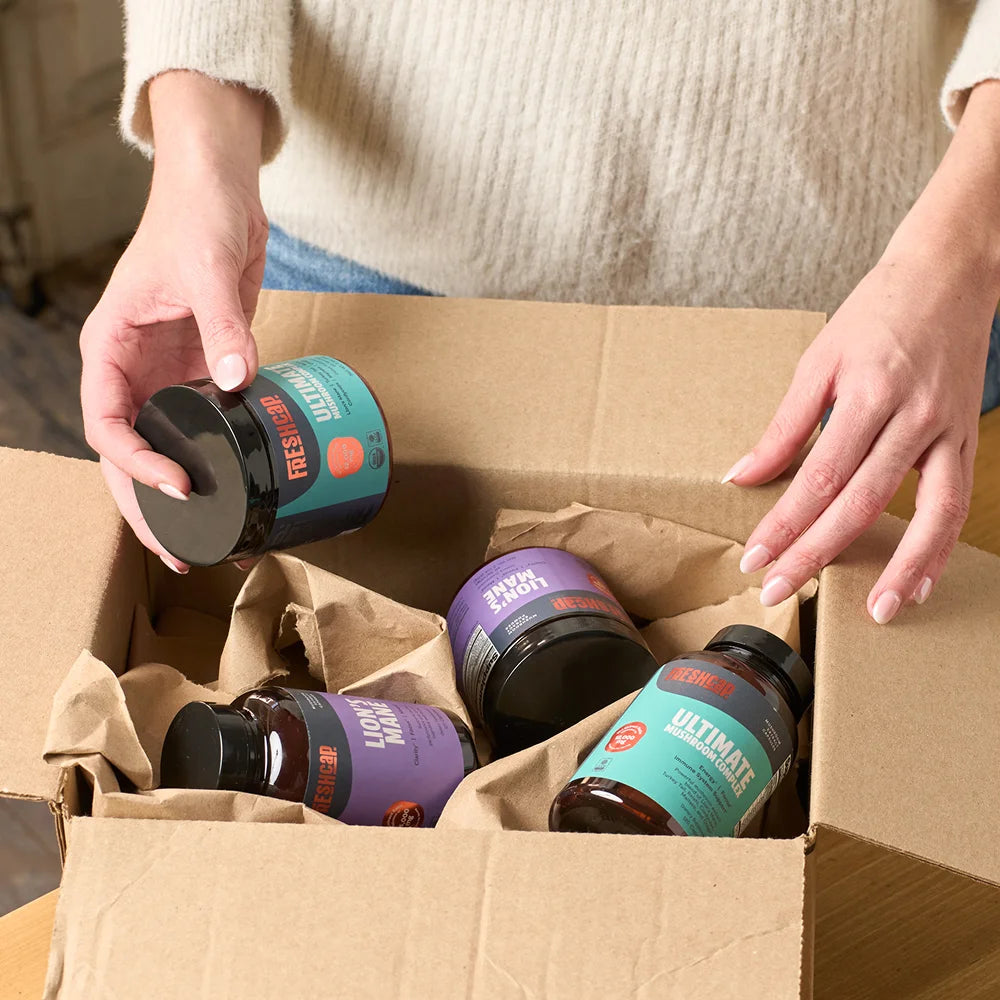
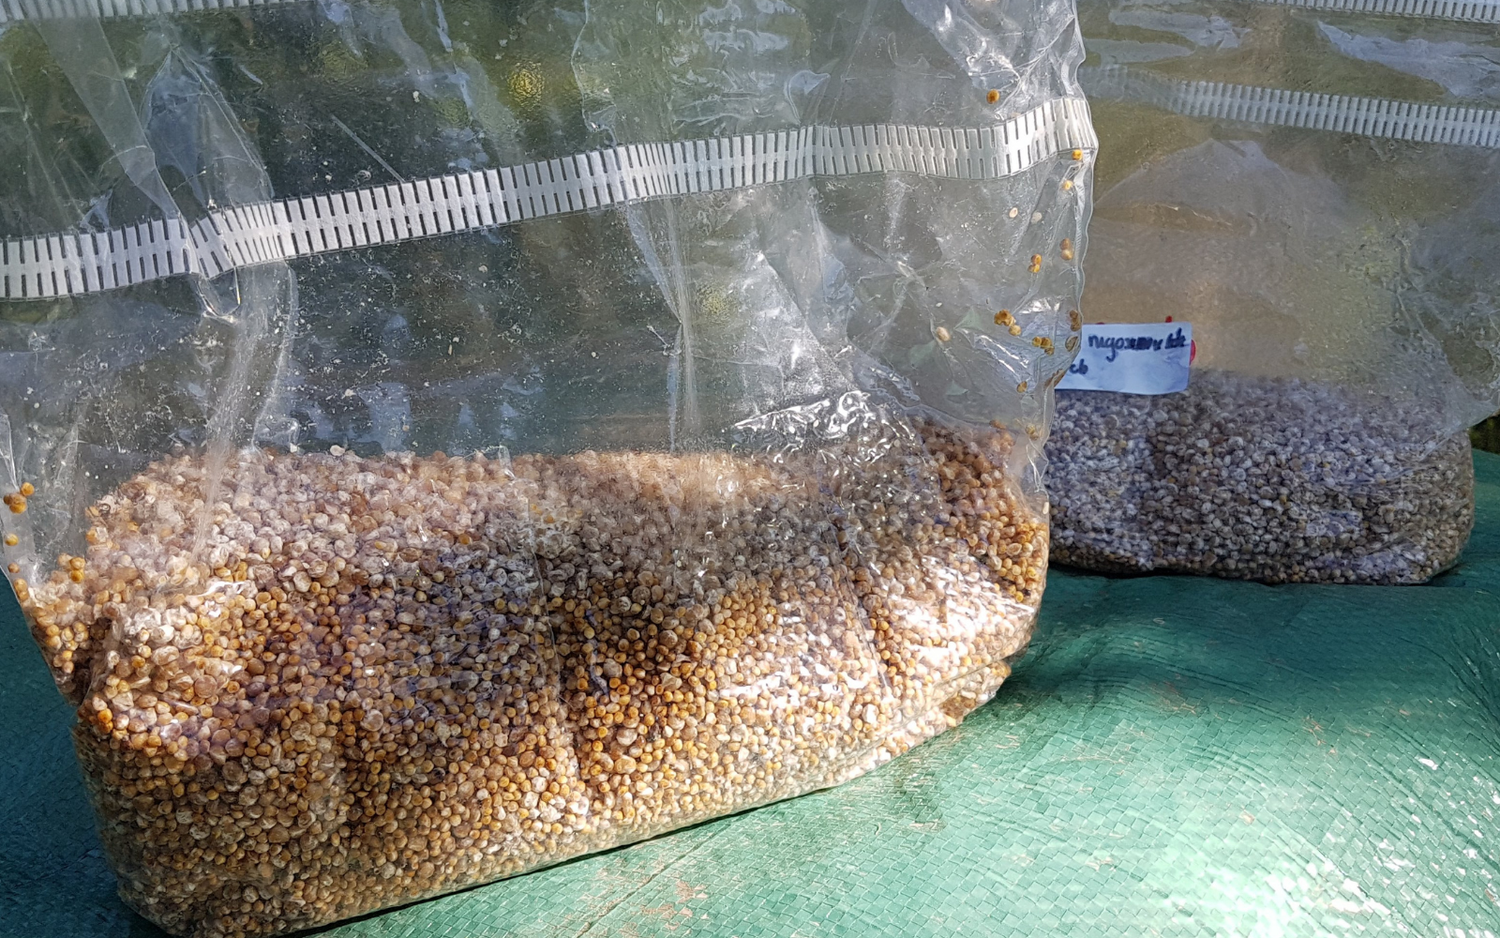
Grain Spawn will typically be made from either Rye, Millet, Sorghum, or a combination of the three. It is probably available in any species you would like to grow – although the commonly available strains are varieties of Oyster (Blue, Pink, Yellow, King, Pearl), Shiitake and Lions Mane. Spawn is a living, breathing organism, basically a culture of mycelium on the run. It wants to keep running; to keep growing and expanding, colonizing substrates and eventually fruiting. As such, spawn is best when fresh. If you are lucky, you live near a spawn producer and can just go pick up fresh spawn. Unfortunately for most people, grain spawn isn’t the type of thing that you can just go pick up at your local market. There are, however, a number of places that will ship fresh spawn right to your door. Common species will be ready to go and in stock, and less common varieties may take a week or three to prepare before being shipped.
It’s best to choose the fastest shipping option when ordering spawn online- and be quick to pick it up! The less time the spawn spends in transit, the more likely that the spawn will be viable and ready to go when you receive it.
Check with your supplier to ensure that your chosen species, shipping distance and time of year are compatible before ordering.
Caring For Grain Spawn
You should be ready for your grain spawn before it arrives. The quicker you use it, the better your chances of success. Depending on the growing method you choose, this means having a bulk substrate ready for sterilization or pasteurization, and having a fruiting container with a place to fruit it. This could be outside (at the right time of year), or inside in a growing room. Inspect your grain spawn on arrival. It should be white and clean, with no visible signs of contamination. If for some reason you see green mold on the inside of the bag, it may not even be worth opening. With some species, there will be natural excretions, such as the orange metabolite sometimes released by Oyster mushroom mycelium. This is not an issue and won’t affect your grow. Some species will start to pin on the grain spawn itself. Lions Mane and Pink Oyster mushrooms will commonly pin early. This is usually not a problem, and the spawn can just be used as normal. If the pins are large then it is worth removing them and tossing them aside before using your spawn. This is because the old fruit bodies can be sources of contamination when colonizing a bulk substrate. If you can’t use your spawn right away, try storing it in a cool, dry and dark location. Most species will do well in a refrigerator, although you have to be careful with tropical species, such as the Pink and Yellow Oyster, which may die off in the fridge.
Growing Mushrooms on Straw
Growing mushrooms on pasteurized straw is probably one of the easiest and most effective ways to grow mushrooms using commercially produced grain spawn. We have already written a guide for growing mushrooms on straw – check it out here! I’ll summarize the process below.What You’ll Need
Aside from the spawn itself, you’ll need a few materials and tools to get the job done. Basically, you need to get straw, pasteurize it, and mix in the spawn with a fruiting container. There are countless ways to achieve this goal- feel free to get creative!- Straw. Either available in 40lb bails from a local farm, or you can buy EZ-Straw online. EZ straw will be cleaner and easier to prepare than a square bail
- A pasteurization method. The best way is to do this outside using a 55 Gallon Drum or similar and a propane burner. Alternatively, you can pasteurize small batches of straw indoors using a large tote, filling with the hot water from your tap, and adding boiling water when needed.
- A Fruiting Container. This is where you can really get creative. The simplest and most common is to use poly tubing with holes cut in the sides, but you can use 5 gallon buckets, totes, laundry baskets… you get the idea.
Basic Steps
- Start by pasteurizing the straw, which has been precut into 1-3” pieces. Soak the straw in a hot water bath for 1.5 hours at 65-82 degC. It helps to have a thermometer that you can stick in the water to monitor the temperature. Make sure that you start the time after the water has already reached pasteurization temperature. The 55 gallon drums take a while to reach 65 degC, even with a powerful burner.
- Remove the straw from the hot water bath and allow it to drain for 10-20 minutes. The straw should be moist, but not dripping wet.
- Spread the straw out on a clean surface to allow it to cool. Adding the spawn to hot straw can kill the mushroom!
- Once the straw is cool to the touch, add your spawn! Go for a 10-20% ratio, ie. If you are making a 25 lb log, use 2.5-5 lbs of spawn. This is probably higher than required, but helps increase your chances of success.
- Pack your straw and spawn into a poly tubing log. The size of the log is up to you but I wouldn’t go bigger than 16” lay flat diameter which makes about 10” diameter log. You can either mix you spawn and straw together in a large tote then stuff together, or add spawn as you build your log by stuffing a bit of straw, sprinkling spawn ect. until the log is packed.
- Cut slits in the bag to allow air the spawn to breath. Place your log in a grow room, or similarly cool and humid environment. The mycelium will colonize the log, and eventually mushrooms will grow through the holes
NOTE: You can get creative here. Five gallon buckets work great with holes drilled in them. You can even use laundry baskets or garbage bags. Growing mushrooms outside in this way -from spring through to fall- works really well, depending on the species. So no need to build a grow room if you aren’t looking for perfection and just want to grow mushrooms!
Growing Mushrooms on Sawdust
Growing mushrooms on supplemented sawdust from grain spawn is a little more complex than growing on straw, but many species, such as Shiitake, Lions Mane and Reishi grow much better on wood than on straw. Definitely worth learning! Check out our article on growing gourmet mushrooms on sawdust, or read the summary below.
What You’ll Need
Once you have the spawn, you’ll need a few extra materials and tools to get the job done. Some are optional, but will make the job a whole lot easier.- Hardwood Sawdust. You can use locally sourced hardwood sawdust, or a much easier option, use hardwood pellets. The key is that you use hardwood, such as maple, beech and oak. Softwood won’t work nearly as well, if at all. You can also use supplementation for added nutrients, such as oat or wheat bran
- Grow Bags. To be more specific, use Gusseted Autoclavable Polypropylene Filter Patch Bags. These are special bags made for mushroom cultivation that come in all shapes and sizes.
- Pressure Sterilizer. You need to pressure sterilize supplemented sawdust, as simply pasteurizing the substrate will lead to contamination. At home, it’s best to use a stovetop pressure cooker that can hold your bags and reach at least 15 PSI.
- A Flow Hood. To be fair, you don’t need a flow hood, but it makes things way easier. What you do need, however, is a clean environment to open your bag post sterilization and add the spawn. You can try using a simple Still Air Box, which can often work quite well. Learn all about flow hoods here.
Basic Steps
- Combine water, hardwood sawdust or pellets and supplementation in the form of bran. Mix well and place in grow bag.
- Pressure sterilize the grow bags for 2.5 hours at 15 PSI in order to kill off any contaminants present in the substrate. Skipping this step will definitely lead to failure.
- Remove the bags and allow them to cool down overnight. Then, in a clean environment (such as in front of a flow hood or in a SAB) add the grain spawn. Use the same ratio of 10-20% spawn to bulk substrate. Seal the bag and mix well by shaking it around. Try to get an even distribution of spawn
- Set the bags on a shelf at room temperature for a number of days or weeks until the substrate is completely colonized. Check the whole block over to ensure that there is no left over substrate that hasn’t yet colonized before opening the bag.
- Once fully colonized, either cut off the top of the bag, or cut slits in the side of the bag and place it in a fruiting environment. Proper grow rooms, or shotgun fruiting chambers work best for fruiting blocks. How you decide to fruit the block will depend highly on the species of mushroom you are trying to grow.
Grow In the Garden
Depending on the species of mushrooms you are trying to grow, you may have some success by just mixing the spawn into a substrate in the garden without any pasteurization or sterilization at all. Keep in mind that success from this method is not at all predictable, although you can sometimes get great results with very little effort.What You’ll Need
- Straw or Hardwood Sawdust. The idea is to make a bed of substrate.
- A corner of your yard or garden that doesn’t get too much direct sun and can remain moist for much of the day.
- A hose, sprinkler, or a good forecast for rain!
Basic Steps
- Pick a corner of your yard or garden that is protected from the sun. Best if surrounded by trees or bushes.
- Lay down a bed of straw, hardwood sawdust or other similar substrate. Do not use supplementation with this method, as it will just mold.
- Mix in liberal amounts of spawn. Mix in well, and try not to leave large amounts of spawn on the top layer, as it will dry out easier. Cover in a thin layer of extra substrate.
- Soak the spawn/substrate mixture well. The idea is to keep the area moist, but not completely water logged.
- For a period of a few weeks to a month, keep the area moist. The spawn should grow throughout the substrate. Eventually, when conditions are just right, the mushrooms should fruit. Typically this will occur in the fall.

