We like to pick mushrooms. Unfortunately, mushrooms themselves are picky – and getting mushrooms to fruit properly requires that we present them with ideal growing conditions.
Building a Shotgun Fruiting Chamber (commonly referred to as an SGFC) is a quick and easy way to provide the perfect balance of fresh air and humidity that mushrooms demand.
What is an SGFC?
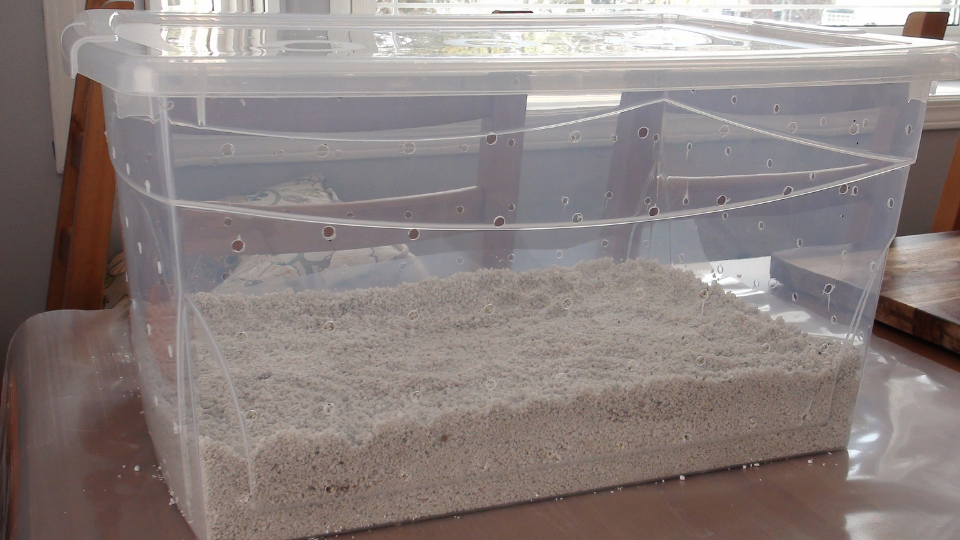
A shotgun fruiting chamber is nothing more than a good sized clear tote, covered in holes, and filled with a few inches of wet perlite in the bottom. The holes allow for fresh air and gas exchange, while the perlite serves as a way to maintain humidity. The tote should be clear in order to allow for an adequate amount of natural light to be passed through to your mushrooms.
A simple shot-gun fruiting chamber. The name comes from the hole pattern on the tote.
What is Perlite?
Perlite is a natural volcanic mineral that, when expanded, forms a coarse and porous granule with a large relative surface area. All the nooks and crannies in the perlite granules are able to hold water, which evaporates over time. This evaporation from the perlite is what allows for the high relative humidity in your fruiting chamber.
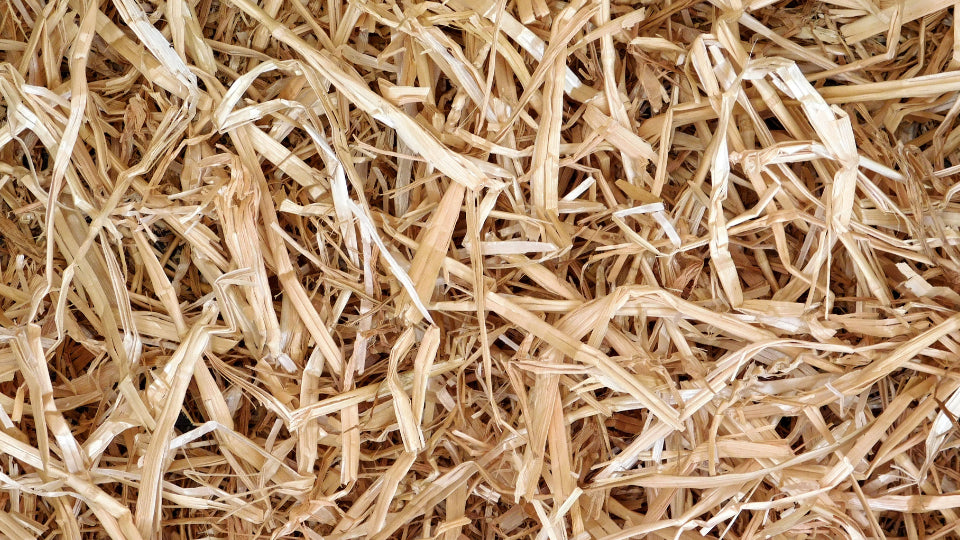
A small pile of coarse perlite. You should be able to find it at your local garden center.
Building a Fruiting Chamber
Building a proper Shotgun terrarium won’t take too long at all, and only requires a few common tools. Once you get the materials you require, you should be able to build your SGFC in less than an hour.Materials Needed
- A clear Plastic Tote (about 70 QT)
- Coarse Perlite (about 10-12 QT)
- A Spray Bottle
- Hygrometer (optional)
Tools Needed
- A Power Drill with a ¼” bit
- Measuring Tape
- Sharpie Marker
STEP 1: Mark Out The Holes
In order to get proper air flow through the SGFC, you want to have evenly spaced holes on all 6 sides of your tote- including the lid and the bottom. General consensus is that spacing for the holes should be an even 2” grid. Mark out all your holes with a sharpie.
Mark out your holes spaced 2 inches apart in a grid.

Holes should be drilled on all 6 sides, including the lid and the bottom.
STEP 2: Drill The Holes
Using a ¼” drill bit, drill out all the holes you marked out. Make sure you don’t press too hard or else the tote will crack as you are pushing the drill through. You will also need to ream out the holes and make sure there are no shards of plastic stuck on the edge. This is a repetitive task, but shouldn’t take all that long.
Use a 1/4″ drill bit to drill all the holes. This takes a little while!
STEP 3: Fill The Bottom With Perlite
Fill the bottom of your SGFC with a couple inches of perlite. The exact amount doesn’t matter too much, just make sure that you have enough to evenly cover the bottom of the tote with a few inches. You also want to make sure you use coarse perlite. If the grind is too fine, you will have a lot of perlite coming through the holes you drilled, making a mess of things. Fine perlite also won’t hold as much water as coarse perlite can.STEP 4: Soak Your Perlite

The perlite should be wetted until it is thoroughly moist.
Soak the perlite by pouring water into your SGFC and mixing it around until the perlite is evenly moist. There is no need to soak it so much that water is pouring out the bottom of the tote. The intention is just to coat the perlite in water so that in can evaporate over time, increasing the humidity in your SGFC.
STEP 5: Place Your Mushroom Block in the Fruiting Chamber
You now have a reasonably humid environment able to exchange gasses and receive fresh air- perfectly adequate chamber for growing all sorts of mushrooms on a small scale. A typical use for a SGFC is to grow mushrooms using the PF technique, but you can just as easily use a shotgun terrarium with supplemented sawdust fruiting blocks, or even mushroom grow kits. Although not entirely necessary, a hygrometer is a useful tool that can be placed in your fruiting chamber to help you monitor and manage the humidity levels. It will give you a really good idea of whether or not you need to spray the inside of the chamber. Over time, you will learn what humidity levels work best for different stages of the fruiting cycle.
A small mushroom block sitting in a humid fruiting chamber
How to use a Shotgun Fruiting Chamber
SGFC’s are almost maintenance free, but there are still some best practices you should follow when using the SGFC tek.Fanning and Spraying
The holes on all 6 sides of your fruiting chamber provide a means for gas exchange, and allow for fresh air, but the holes alone are not enough. Once your mushroom blocks are placed in the chamber, you should be removing the lid and fanning in fresh air at least twice a day. In order to keep the humidity up after fanning in dry air, you’ll need to mist your chamber. To do this, simply use a typical spray bottle, and thoroughly soak the inside walls and the perlite foundation with water. Try to do this without directly spraying the mushroom block, as droplets of water on the mycelium or the mushroom fruit body can cause problems such as bacterial blotch.
A simple spray bottle for misting your chamber.
Using a Hygrometer
A hygrometer is a useful tool to monitor the humidity in your grow chamber. Although not entirely necessary, it will help to give you an idea of whether or not you are providing an adequately moist environment.
Depending on the stage of the mushroom fruiting cycle, you’ll want your humidity to be in the range of 75%-90%. If the humidity drops too much, your mushrooms may have smaller, cracked caps, or may not even fruit at all.
It doesn’t matter if you can get a digital hygrometer or an analog one; just ensure that the range of the device is such that it can measure relative humidity all the way up to at least 90%. Some household hygrometers won’t accurately measure that high.
Look for the types of hygrometers that they use in humidors, which can accurately measure high relative humidity levels.
