
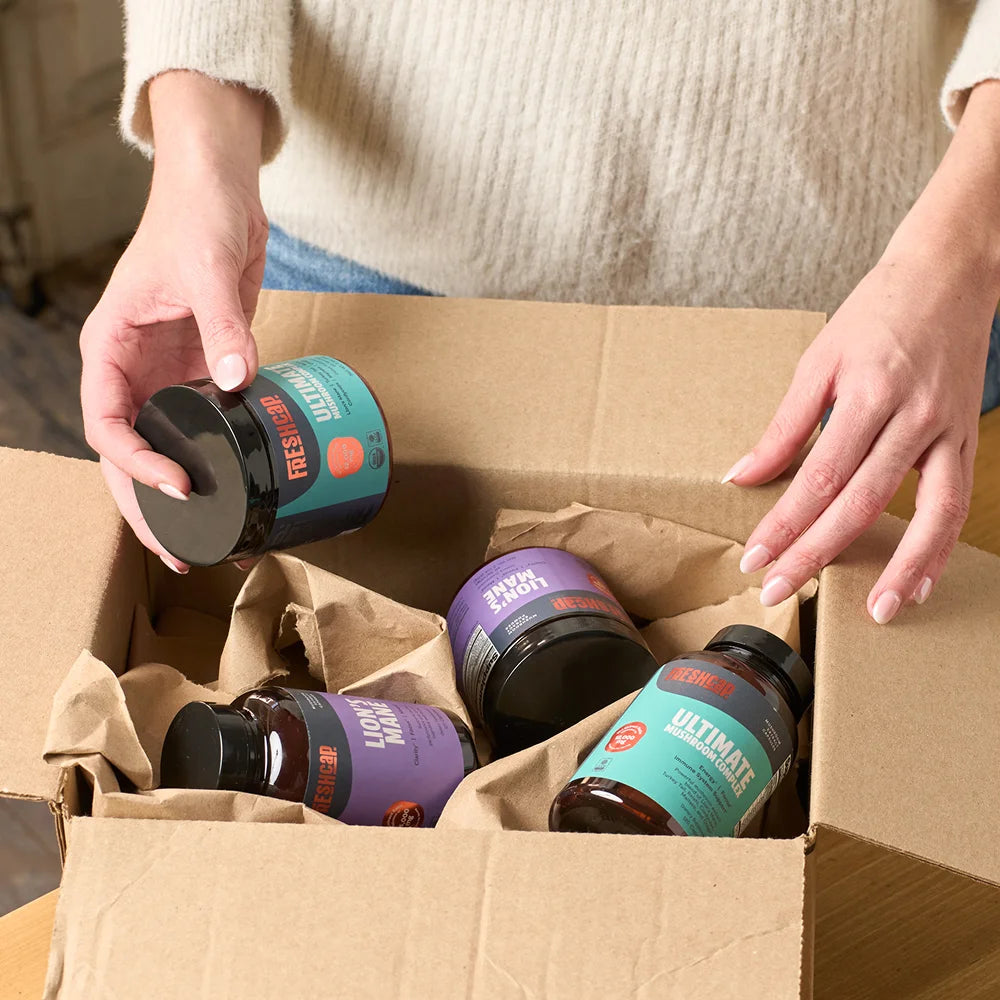

One of the first steps to growing mushrooms from scratch involves making your own grain spawn.
Luckily the process of inoculating grain jars is pretty simple!
Once you have a viable mushroom culture ready to go, either grown out on agar or in liquid culture form, you can go ahead and add it to sterilized grain. Over the next week or so, the mushroom mycelium will work its way through the grain, eagerly devouring the nutrition and moisture held within the grains.
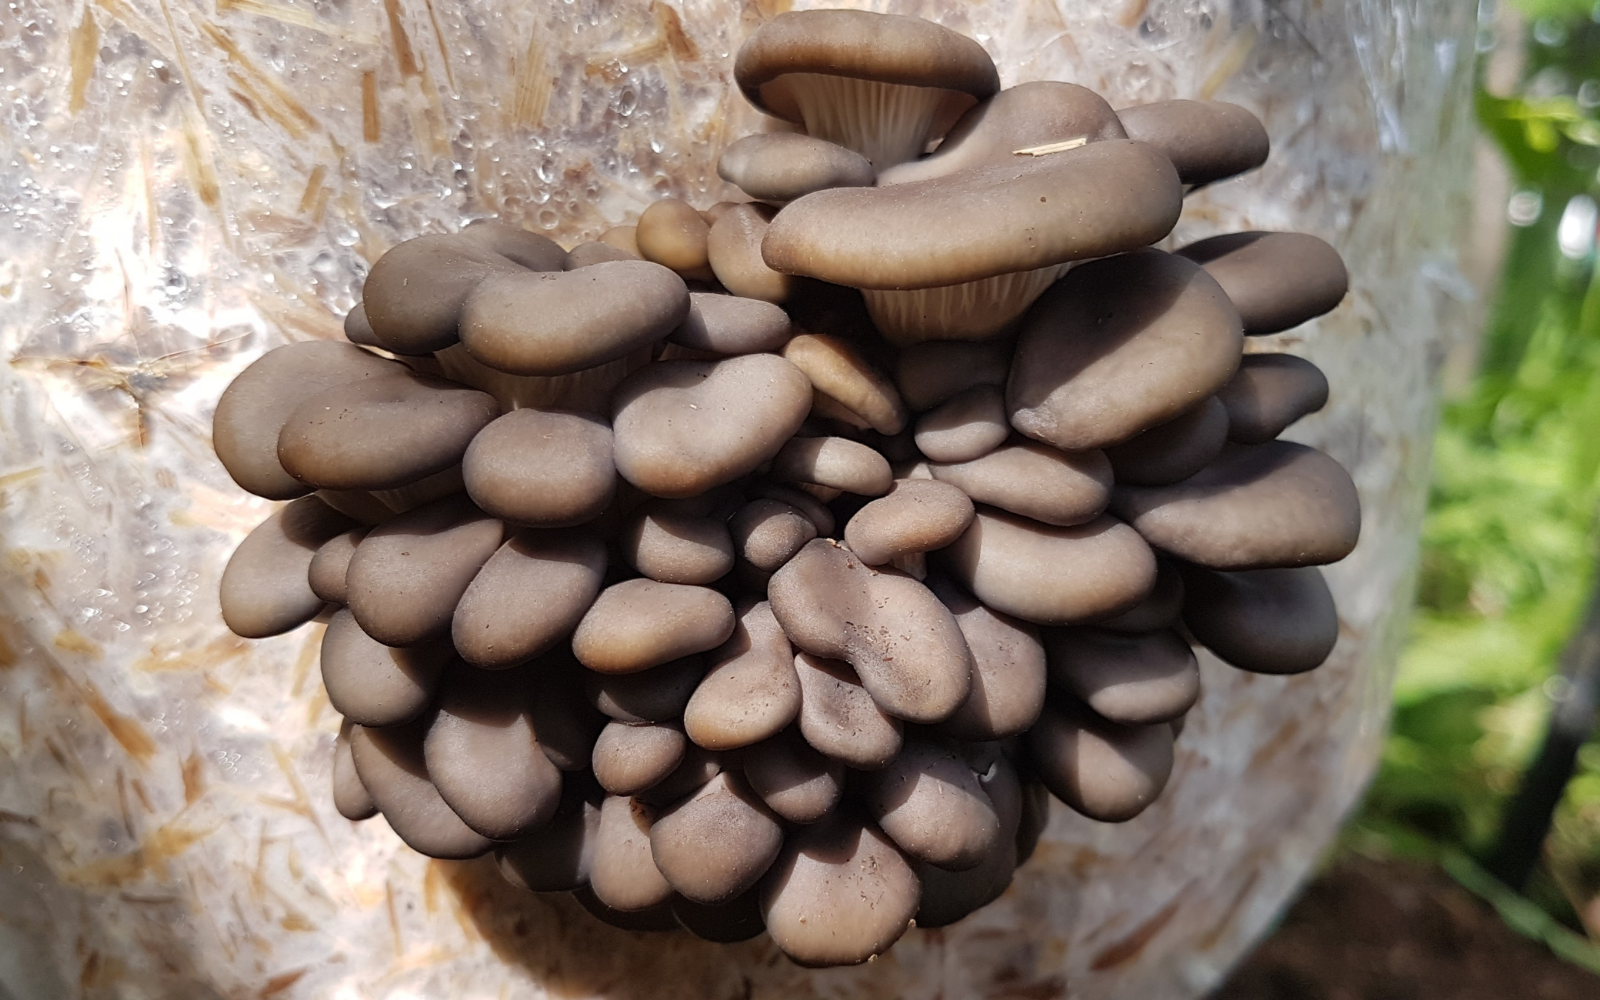
Once the grain is fully colonized (meaning the mycelium has completely covered the grain) you can either make more spawn with a grain to grain transfer, or you can add it to a bulk substrate to grow mushrooms right away.
So, let’s look at the steps and materials needed to inoculate sterilized grain, and make first generation grain spawn.

What do you need?
- A viable mushroom culture, either on agar or in a liquid culture syringe.
- A jar of properly prepared sterilized grain with a breathable filter lid.
- A laminar flow hood or still air box.
- A scalpel or sharp knife, and a flame.
- Doesn’t hurt to have gloves and rubbing alcohol.
Inoculating Grain Jars from Mycelium on Agar
Step 1: Gather Your Materials
In order to make first generation grain spawn, you first need to get some properly prepared and sterilized grain. It’s a bit of work, and you need some specialized equipment, but once you do it a few times, it’s not all that bad. You also need a viable mushroom culture, either on agar or in a liquid culture syringe. There are a number of reputable suppliers online where you can by cultures. Check out this article for information on how to properly transfer and store cultures.Step 2: Set Up in a Clean Environment
I like to do any contamination sensitive work in front of a laminar flow hood, in which inoculating grain spawn definitely qualifies. If you don’t have a laminar flow hood, then try and at least make a “still air box.” Wipe down your grain jar and your agar dish with alcohol, and set them in front of your hood. Loosen the lid on the top of the grain jar for easy access, but keep it closed.
Step 3: Grab some mycelium
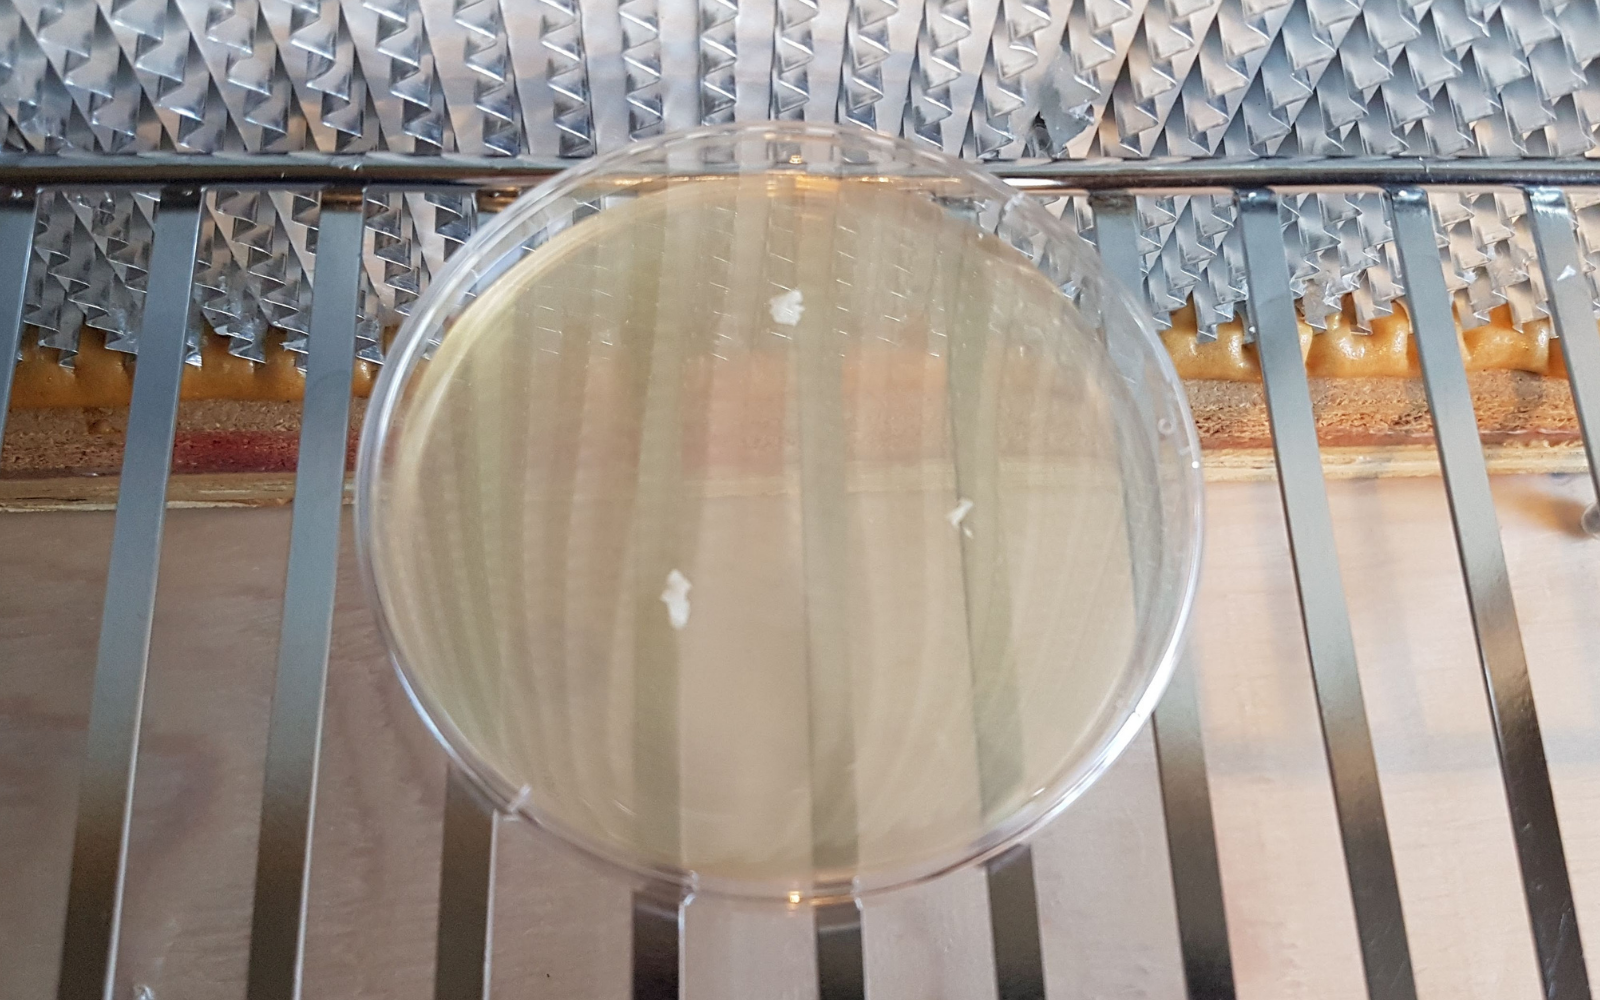
Flame sterilize your scalpel or blade until it is literally red hot. This will kill off any potential sources of contamination on the blade. Quickly cool the blade off by dipping it into the side of the agar dish. You should hear an audible sizzle. With your cooled blade, cut a piece of mycelium out of the agar dish approximately 1 cm x 1 cm, and stab it with the tip of your scalpel.Step 4: Inoculate
Remove the piece of mycelium from the agar dish and throw it into the jar. Try to keep the piece of mycelium upstream of all other materials throughout the process. You should try to have the lid of the jar open for as little time as possible. I usually like to place at least 3 pieces of mycelium into each jar. This allows for more inoculation points, and should speed up the colonization process. The faster the jar is able to colonize, the less likely it is to contaminate. Repeat steps 3-4 to add extra pieces.
TIP: If you want to improve the efficiency and further minimize the time that the jar lid is open, cut a grid in the agar dish so that you can pick up 3-4 pieces at once. Doing it this way, you only have to open the jar once, greatly reducing the chances of contamination

Step 5: Shake the Jar
Shake the newly colonized grain jar in order to spread the pieces of agar throughout the dish. This is important for the same reason as inoculating with multiple pieces of agar- it increases the number and spacing of inoculation points, which speeds up colonization.
Step 6: Allow to Colonize
First, don’t forget to label your jars! Especially if you are inoculating a number of different species. It’s easy to forget what is what after inoculatinon. Put your newly inoculated jars on a shelf at room temperature and away from direct sunlight. There is no need to “incubate” grain at warm temperatures in the dark, since the mycelium will grow happily in normal room temperature conditions. You should shake the jar at least once during colonization. I like to do this when the jar is about 25% colonized. Shaking the jars at this time will evenly spread out the grain, which allows for faster overall colonization. Depending on the species of mushrooms, it can take about 1-3 weeks before the jar is fully colonized. At this time you can either add it to a bulk substrate or do a grain to grain transfer to make even more spawn!