
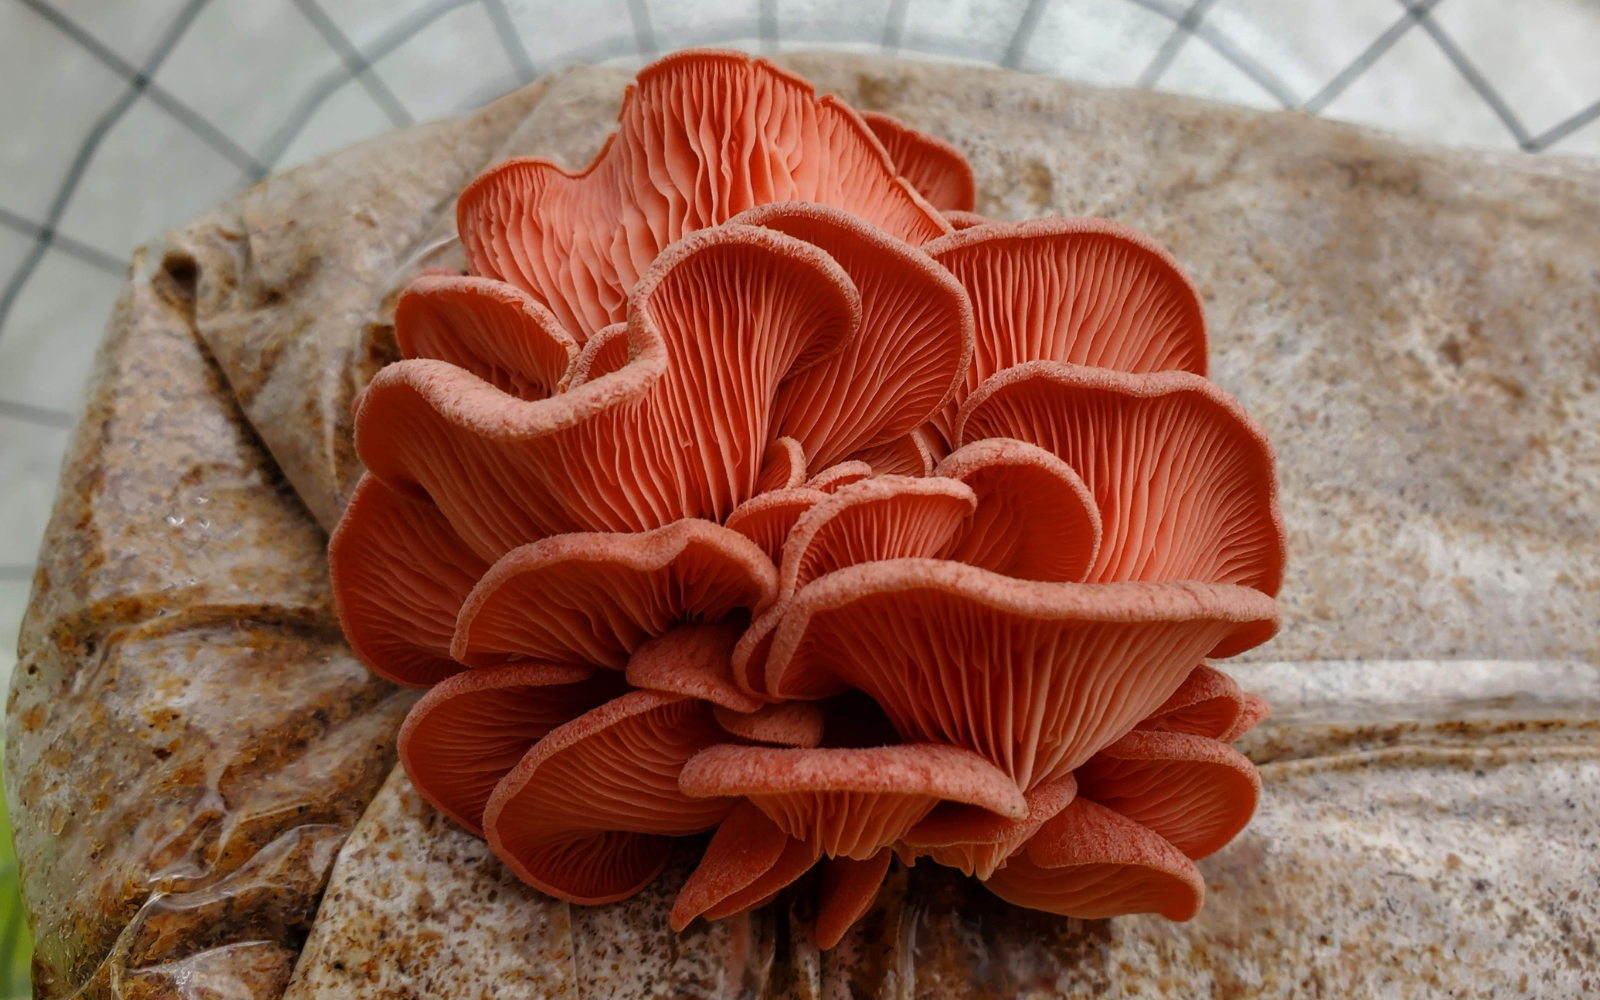
Many types of mushrooms , specifically oysters, will do great and fruit heavily on straw logs as was explained in this post.
However, most gourmet mushrooms will actually do way better if grown on hardwood sawdust supplemented with some sort of nitrogen rich supplement.
Growing gourmet mushrooms on sawdust blocks will require a little bit more initial work than straw logs, and more equipment- mainly because sawdust blocks need to be pressure sterilized- unlike straw logs which need only to be pasteurized.
However, the process is quick, less mess, has lower chances of contamination, and provides a perfect medium for the mushrooms to grow large healthy fruits.
The basic recipe we use to grow all our gourmet mushrooms uses hardwood sawdust pellets, wheat bran, and water. Hardwood pellets are used because they are readily available at local retail stores or online, and store easily.
Make sure to get hardwood pellets and not softwood pellets. Mushrooms do not grow well at all on softwood.
The pellets are small and only expand when soaked in water. Wheat bran is used as the nitrogen rich supplement. It can be found in small quantities at your local grocer, but can be quite expensive.
A better option is to buy some from a feed or farm store. Oat bran can also be used, but we have found wheat bran to be the most effective. As for water, the trick is to add just the right amount to get a proper moisture content.
You don’t want your block to be too wet or too dry. The following recipe works great for use, but you may have to adjust it slightly to suit the specific moisture content of you pellets.
The Fruiting Block Recipe:
For every 5 lb fruiting block:- 5 cups of hardwood pellets
- 1.4 liters water
- 1-1/4 cups wheat bran
How To Grow Mushrooms on Supplemented Sawdust Fruiting Blocks
Step 1: Measure out the components
The above recipe will make a block weighing approximately 4 lb 4 oz. Your final bock should end up weighing 5 lbs after you add 12 oz of grain spawn. Its best multiple blocks at a time, as many as can fit inside your pressure sterilizer. This presto pressure canner is relatively cheap and can hold 4 large blocks, made with 20 cups pellets, 22.5 cups water and 5 cups wheat bran
Step 2: Add Water to Sawdust Pellets
Place your hardwood sawdust pellets in a large tote or suitable container for mixing. Add the correct amount of water and mix until the pellets have broken up into a loose sawdust texture. Adding warm water makes the sawdust break up much quicker but is not necessary, as cold water works just fine. It may take a while to mix up all the pellets, but you want to be sure it has all broken down because the mushrooms will have a much harder time breaking down the hardened pellets.Step 3: Add Wheat Bran
Once the sawdust is mixed up and all the pellets are broken down, add the correct amount of bran. You can increase the amount of bran to add more nutrition into the block, but more bran will increase the chance of contamination and adding more will eventually lead to diminishing returns. Make sure to mix the bran thoroughly and evenly throughout the sawdust.
Step 4: Add Mixture to Grow Bags
Weigh out the proper amount of sawdust/bran mixture and add it to a grow bag. I add 4 lbs 4 oz to each grow bag, which makes a 5 lb block once the spawn is added. The bags are specially made for growing mushrooms. They are made of poly propelyne which can withstand the sterilization process. The Filter patch allows the mushrooms to breath while they are colonizing the substrate.Step 5: Fold the Bags Down
The tops of the grow bags are gusseted and should be folded down in a specific way, with a filter fitted in between the gussets. This prevents contamination during cooldown after sterilization. When the bags cool down, air will be drawn into the bags. If there is no filter between the gussets, dirty air can sneak through and ruin your project. By slipping a filter in between the gussets you can alleviate this problem. Once the filter is slipped in, fold the top of the bags over a couple times. For the filter, you can use a cut piece of tyvek or a square cut from a painters suit.Step 6: Pressure Sterilize
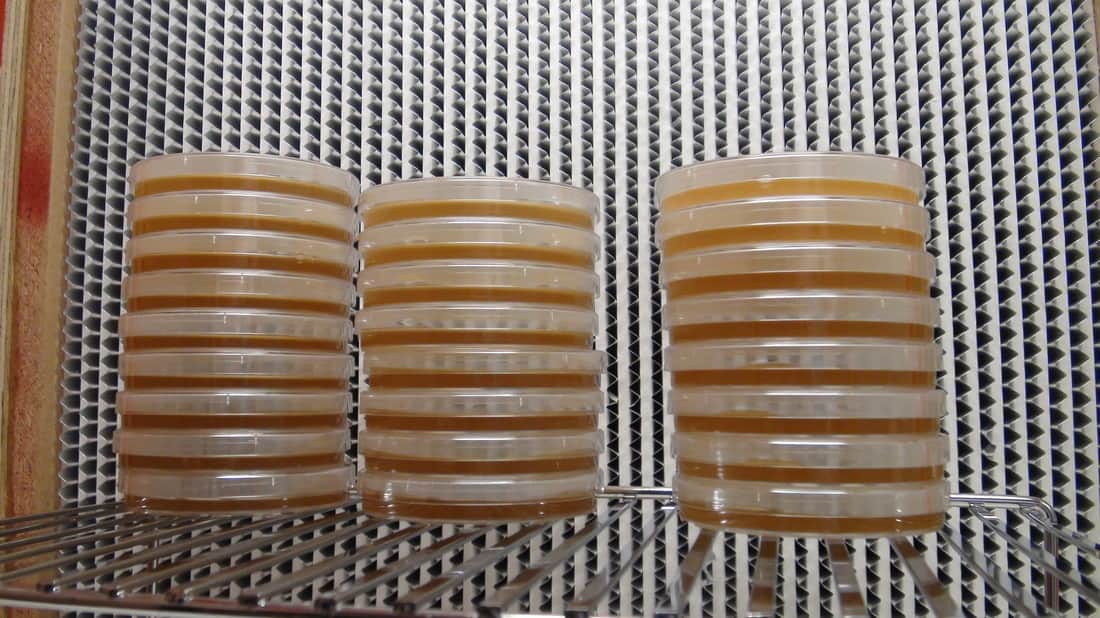
Load your pressure sterilizer with the bags stacked on top of each other. Make sure to use jar lids or something that will keep your grow bags from making direct contact with the bottom of the sterilizer, as this could cause the bags to burn. Fill with the water to just below the top of the bottom bag. You will need more water than when making grain jars because you will be sterilizing for much longer. Also, be sure to add a plate or something heavy to the top of the bags. If you don’t do this crucial step, you run the risk of the bag clogging the weight and the pressure relief valve on the pressure cooker. This could cause pressure inside the cooker to reach dangerous levels. Pressure sterilize your bags for 2.5 hours. This seems like a long time, but it is necessary for the heat to fully penetrate the the inside of the block and fully kill all contamination.
A fruiting block post-sterilization ready to be inoculated with grain spawn. Notice how the filter patch is slipped in between the gussets and the top is folded over twice.
Step 7: Cool Down and Inoculation
Allow your fruiting blocks to cool down for at least 8 hours. I like to pressure sterilize at night and allow the pressure cooker to fully cool down over night. Anything over 38 deg C can potentially kill your mycelium. Fruiting blocks are best inoculated in front of a laminar flow hood. You can do it in a glove box or similar, but you will increase your chances of contamination. Once you have added grain spawn to your sawdust block, tie off the top of the bag with a piece of wire or zip tie and set on a shelf. Shake the bag to evenly distribute the individual grains throughout the bag. This will speed colonization of the block.
Grow bags colonizing on a shelf.

Grow bags after inoculation. Note the mixing of the grain spawn.
Step 8: Allow to colonize
Depending on the amount of spawn and type of mushroom you are trying to grow, it might take anywhere from 10-21 days for the mycelium to take over the block. There is no benefit to shaking the bag during colonization, just allow the grain spawn to take over the block naturally. Periodically look over the bag to check for any signs of contamination. Usually, it is not worth opening contaminated bags in your grow room, so it is better to just throw them out if the bags look contaminated.Step 9: Fruit!
Once the bags have fully colonized consolidated, they are ready to fruit. Different mushrooms have different requirements from this stage, but for most gourmet mushrooms, just cut off the top of the bag and place inside your growing environment. From here, the block should start to pin from the top of the block, and eventually form mushrooms. Closely monitor humidity and temperature to see what your block needs.

